Showing posts with label Sides. Show all posts

California Peach Caprese Salad

Happy 4th of July, Fellow Americans!  It's a perfect day to have an outdoor barbecue-- invite a few friends and family, doing some grilling and to relax.

This year, is a little different at our house. It's in shambles, because my husband is replacing our tired and worn out living room/dining room carpet with new wood flooring.  So, I'm holed up in our Master Bedroom with my laptop and an elderly Feline (who is feeling a little out of sorts with all the banging and dust).

 Navigating to the kitchen is a little tricky, but we still have to eat!  I've been following Sam's blog for some time, and when she shared her twist on a classic Italian-- as Georgia Caprese Salad -- I became obsessed with wanting to make it.

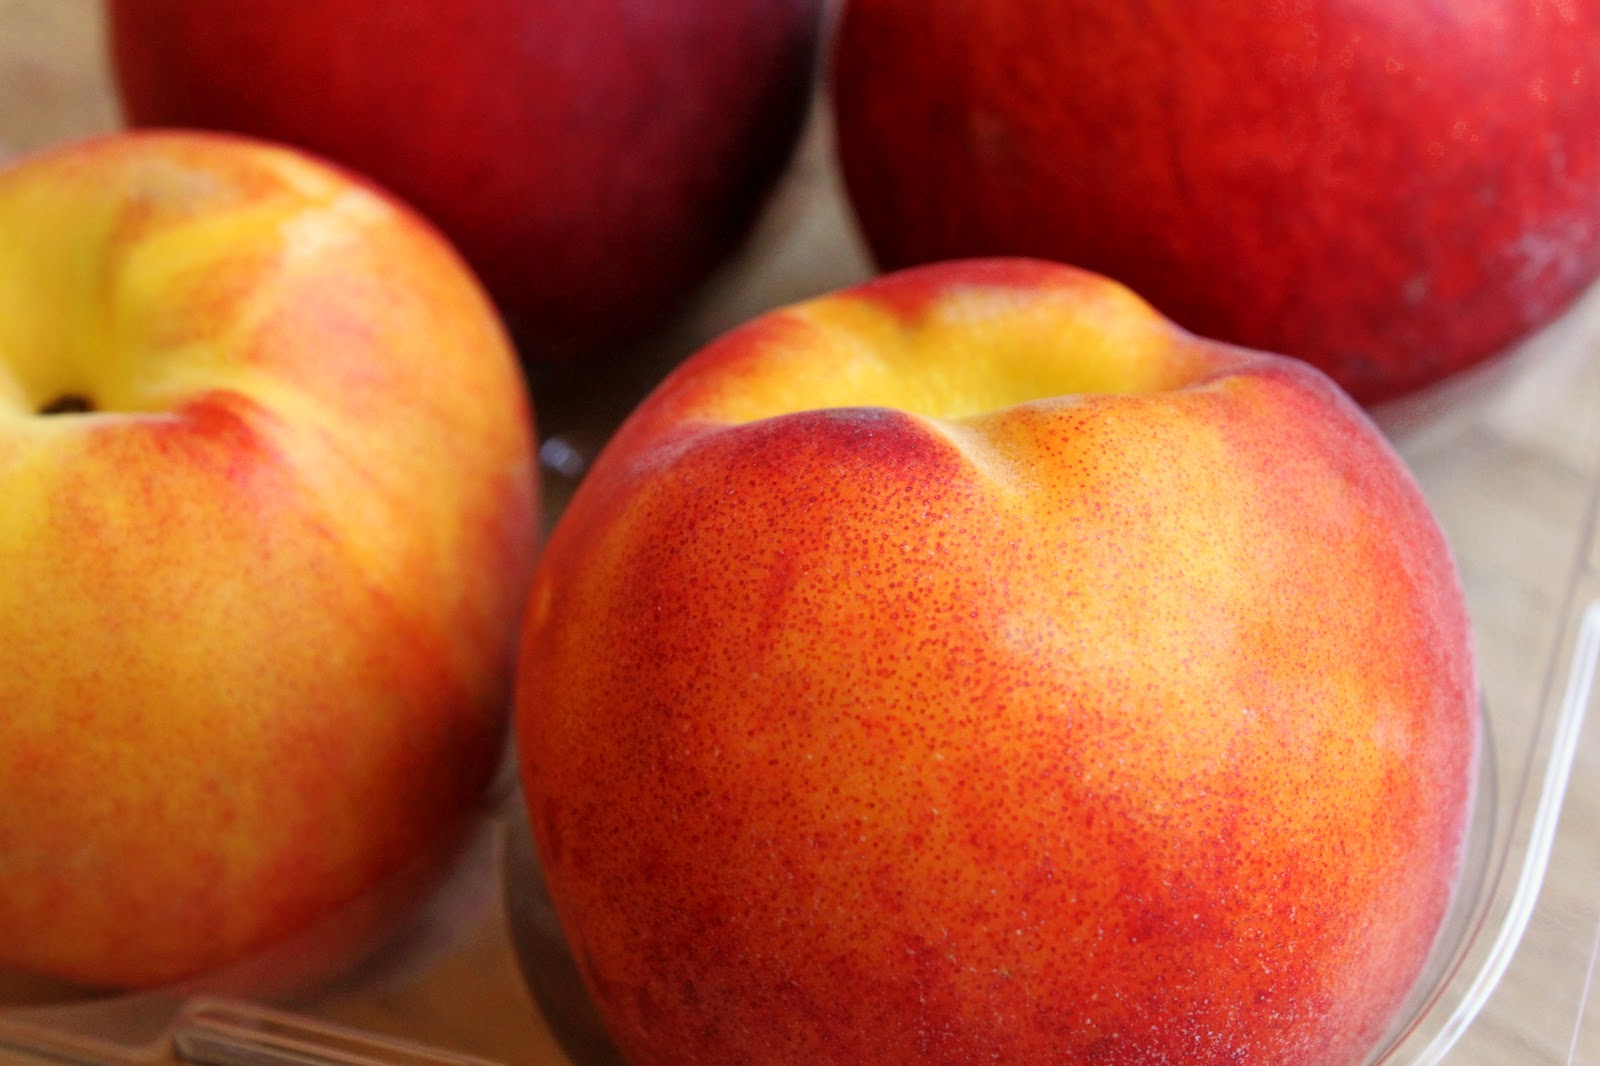
It's been a very long time since I've had a Georgia Peach.  Fortunately, California does grow sweet and juicy peaches, and the season is in full swing.

If you've never had a classic Italian Caprese Salad, it's made with sun-ripened tomatoes, fresh mozzarella cheese and  fresh basil.  The flavors of summer!

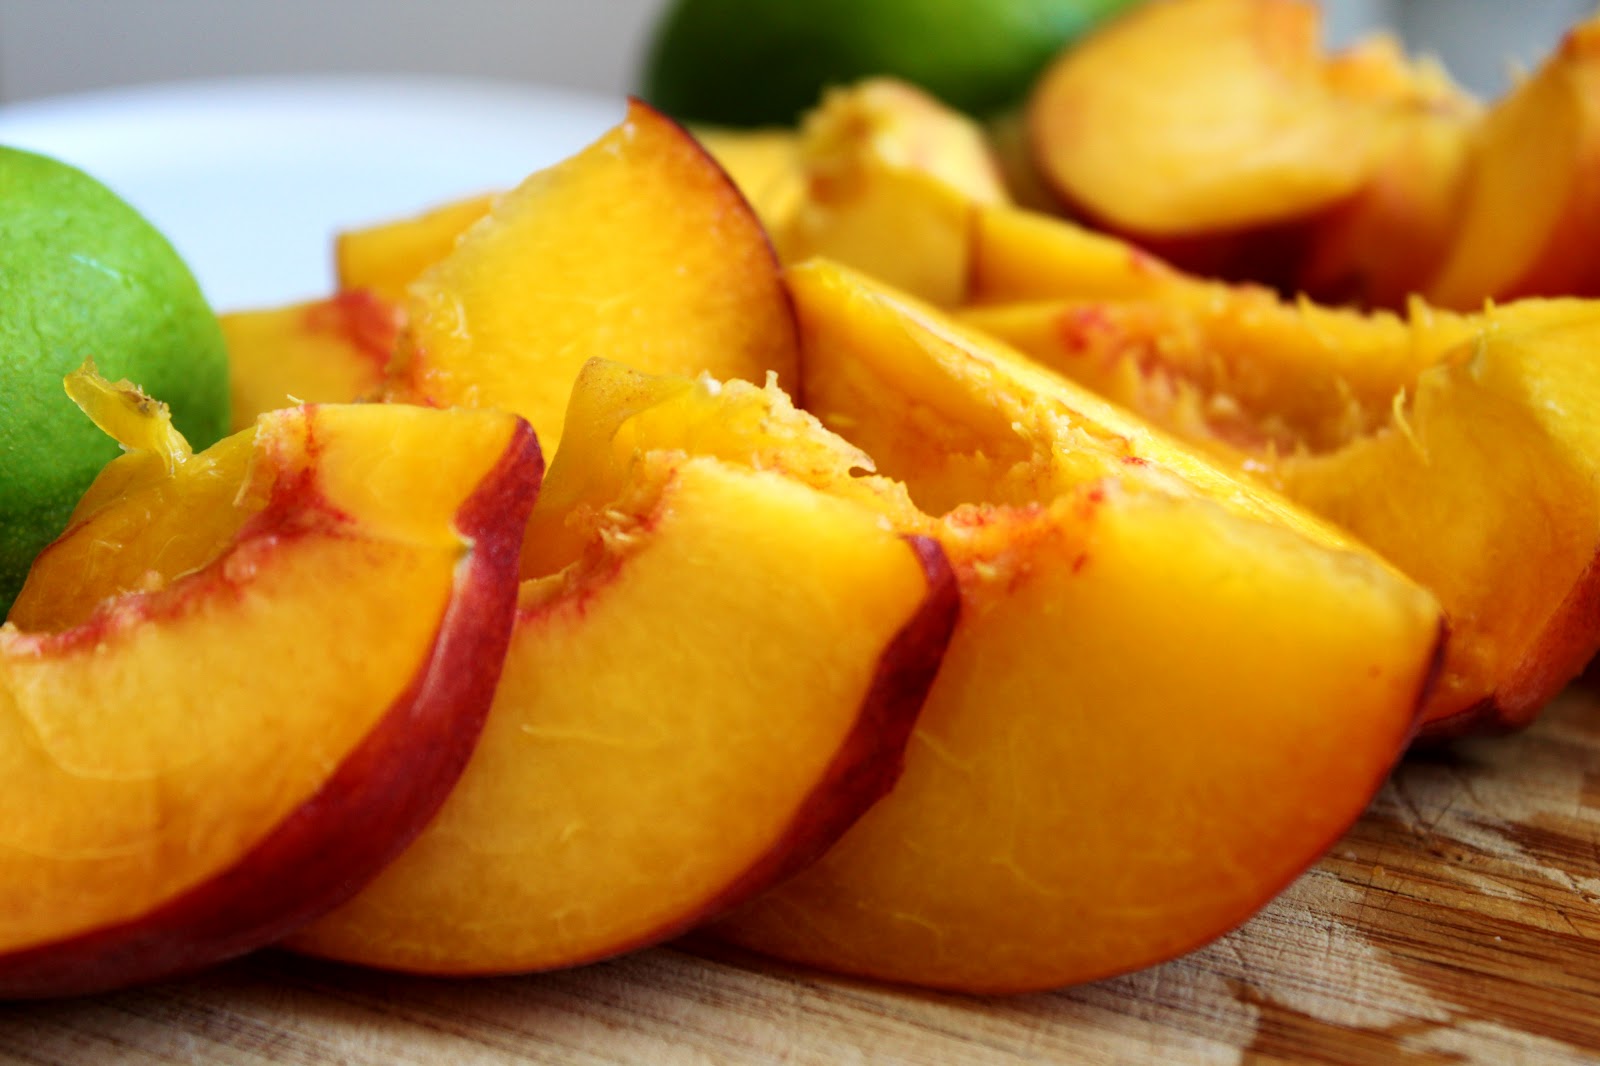
Sam's recipe uses fresh sliced peaches, mozzarella and basil, with a vinaigrette that includes fresh lime juice and honey.  It took less than 10 minutes to make this for a lunch/snack.

In a bowl, I squeeze the juice of one lime, then added some white balsamic vinegar (you could use white vinegar), a little honey and olive oil.  I added a little coarse salt & pepper, to taste.

Gently combine.  I chose not to use mint with this, because Craig isn't crazy about fresh mint. We both love basil, though. This took less than 10 minutes to make. Easy peasy.

TASTING NOTES:  This would be a lovely side dish at a barbecue, and would pair well with either pork or chicken.  We ate ours as a very light lunch, and loved it.  I adore white balsamic vinegar, because it's the perfect balance of sweet and sour.  My son loved it, too.   I need to grab some more fresh peaches, before the season is over.  It's a refreshing salad and a fun twist on Italian Caprese salad.  Recipe slightly adapted from here.   Thanks, Sam!

Tomorrow, the house will be filled with the aroma of fresh paint.  Hopefully, by Sunday, the new floors will be finished and I can put the house back together again.  I owe my husband some special recipes, and I'm happy to do it as a special "thank you".  He's doing the work, pretty much, by himself.  I'm a lucky woman!


Campfire Beans

A few weeks ago, we had a sneak peek into summer on our Coastal corner of California. We seized the moment, to fire up our Weber grill, and to invite friends for a backyard barbecue.

For the menu, I decided to make Beef Brisket, Homemade Barbecue Sauce, and Cole Slaw. To round out the meal, beans seemed like the perfect choice.   I do love beans, that's for sure. My family likes the California Barbecue Beans I've posted before.  I'm always on the lookout for Ranch Style beans.  I recently saw a Pioneer Woman episode, on Food Network, for these campfire beans.  Since they're made with pinto beans, one of my favorites, this seemed like a good time to make them.

When I make pinto beans, I usually soak them overnight.  PW didn't soak hers, so I went along for the ride.   Just plan on four hours to allow the beans to cook low and slow.

Rinse and clean 4 cups of pinto beans.  Smoked Ham hocks (or shanks) give a smoky flavor to beans, so I tossed in a couple of them, covered the beans with water and cooked them for a couple of hours; check every so often that the water doesn't evaporate, which mine never did.


The funny thing is, Ree's recipe doesn't specifically say what to do with the ham hocks.  I simply removed them, and pulled them off the bone, chopped them, and set them aside.


The veggies include diced onion and two red bell peppers.   I decided to use only one red bell pepper, and plenty of minced garlic-- about 4 large cloves.  The spices includes chili powder, salt & pepper, but added cumin, because I love it.

I veered off from the original recipe, by added all of the vegetables and the spices, at the same time, to the cooked beans-- then I let this cook for a couple more hours.

I added the chopped ham,  and turned the pot down to a low simmer, until the beans thickened.

 Yep, they thickened nicely...

The smoked brisket turned out perfectly-- and I will share that recipe next.  My husband did a great job with that brisket-- my mouth waters, just remember that dinner.


 TASTING NOTES:  What I liked about these beans is the smoky flavor from the ham hock.  I don't regret using only one bell pepper, as opposed to two.  I served the beans with hot sauce, on the side.  The next time I made these,  (during the last 20 minutes or so) I added two jalapenos...a little too hot for me!  However, I think 1/2 a fresh jalapeno will make these perfect and would add even more flavor.  The beans received a lot of compliments, from our dinner guest.  They weren't any leftovers, either.

So far, this Memorial Weekend is off to a chilly, drizzly start.  So far, the forecast isn't looking so "hot".   That won't stop us from doing some grilling for this three-day "unofficial" start of summer.  Sunny days will come in no time at all, and this gives us an excuse to go to a matinee-- along with the rest of the crowds.

A printable recipe card is at the end of this post.  If you can't view it, click here to see it.


Risotto Milanese

According to our local weather service, we are expecting warm temperatures this weekend.  So, I thought it best that I hurry up and post this Risotto dish that I made a few weeks ago-- and I have to tell you, that it was creamy, and delicious. Best of all, it wasn't that difficult to make. I promise.

I've bought Risotto mixes and frozen versions, and they just aren't good.  There is nothing like a serving of freshly made Risotto.   I forget to make it, and I need to change that.  You always start with chicken broth (or homemade stock).  This particular version uses saffron, to give the risotto a beautiful yellow color.  Saffron is very expensive, but I buy a small jar at my local Trader Joe's.  You can always "cheat" and use Tumeric.  It's not quite the same, but a tiny pinch will give a pretty yellow color, too.

Your mis en place (aka "set up")-- your chicken stock, heating up, a pot with olive oil, white wine (I use sauvignon blanc), chopped onion and rice, and grated Parmigiano-Reggiano.   The kind of rice is important.  Carnaroli is my #1 choice, but it can be a little tricky to find. Otherwise Arborio rice works well.  (This is not the time to use regular rice, as it's not starchy enough.)

I've heard it said that making risotto is laborious and involves stirring and stirring.  I beg to differ!  Yes, I have to pay attention, but I am able to multi-task with other things nearby, as long as I pay attention.   We begin by coating a large saucepan generously with olive oil over medium heat. Next, we add the onions and salt and sweat them until translucent, about 5 minutes

Bring the pan to a medium-high heat. Add the rice and cook for 3 to 4 minutes, letting the rice slightly stick to the bottom of the pan and scraping it off. It should also sound crackly.

 Add the wine to the pan until it covers the surface of the rice. Season with salt and cook over a medium-high heat, stirring continuously until the wine has absorbed into the rice.
Add the saffron chicken stock to the pan until it covers the rice. Cook over a medium-high heat, stirring continuously until the stock has absorbed into the rice.

 Repeat this process two more times with the hot saffron chicken stock. When the third addition of the stock has absorbed and the rice is very creamy, bite a couple grains of rice to be sure it is cooked perfectly. If it is still a little crunchy, add a little more stock and cook the rice for another couple of minutes. When the rice is cooked perfectly, remove it from the heat.

Now, for the finishing touches-- 

Toss in the butter and Parmigiano-Reggiano and “whip the heck out of it.” The rice should be creamy but still flow and hold its own shape.

This is a beautiful Risotto recipe, and I got it from Food Network's Anne Burrell, who happens to be one of my favorite celebrity chefs.   I made this Risotto to be served with this:

Osso Bucco (Beef Shank Cut), which is traditional served with Risotto Milanese.   If I do say so myself, this dinner was one of my crowning glories.  My son still talks about it.  I will share that recipe, next.

Are you ready to make Risotto?  You won't be sorry.  A printable recipe card is at the end of this post.


Easy Pineapple Jam

Three summers ago, I decided to teach myself how to make my own jam.  Since then, store bought jam is something I don't need to buy any longer.  If you've never made your own jam, I can tell you that it's much easier than you think.  Of course, you do need to invest in a "canning kit"-- which includes a large pot, rack for the jars, funnel and a few other tools to make things a little easier.  I show you how I made my first batch of strawberry jam here.

I spotted this recipe on Colleen's Recipe's, and bookmarked it some time ago.  I've always made jam with fresh fruit, but this recipe uses canned crushed pineapple, and pineapple juice.  The remaining two ingredients are pectin and sugar.   I finally decided to try this recipe, because I wanted to make a glaze for our Easter ham.

I was pleasantly surprised at how little work, and time, this takes to make.  Simply empty a 20 oz. can of sweetened crushed pineapple, add about 6 oz. of pineapple juice-- then add one box of pectin (I used Sure-Jell) and give it a stir.

After reading Colleen's notes, I decided to break down the pineapple to be much smaller, just like she does. An immersion blender solves that problem, quite easily. Otherwise, blend the pineapple before adding it to a heavy bottomed pot.

Add 3 cups of sugar.  Yes, homemade jam uses a lot of sugar. How sweet it is...

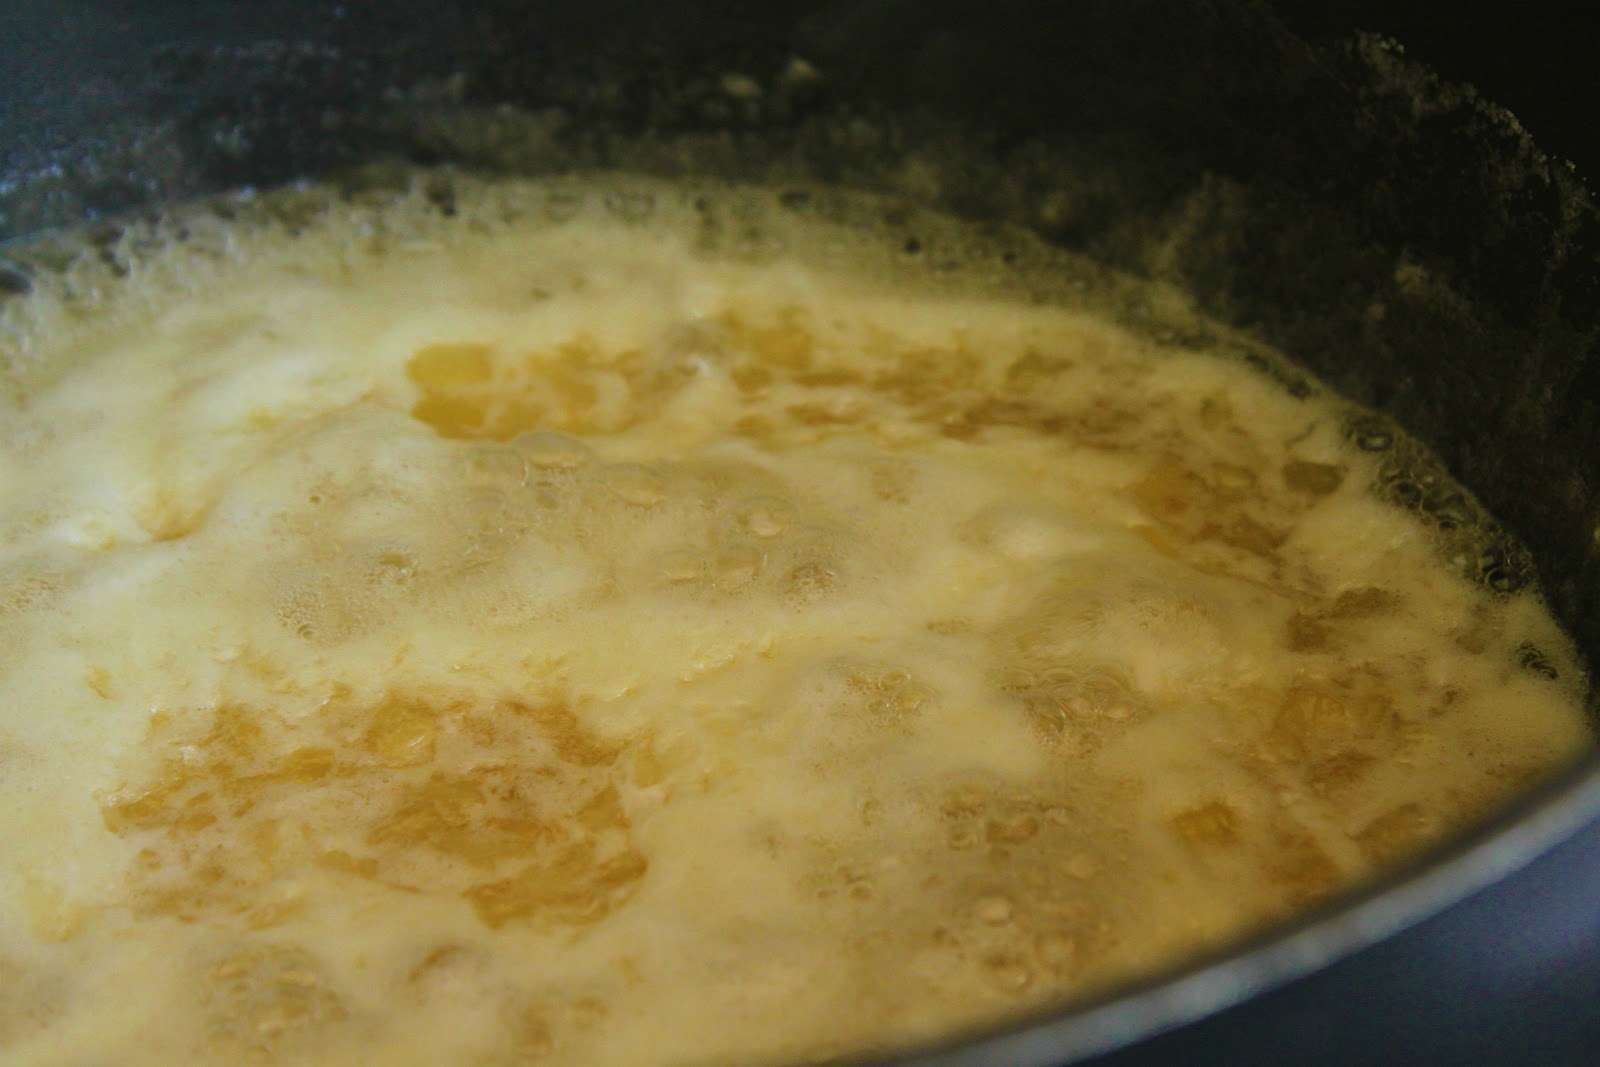
I like to add a pat of unsalted butter, which seems to reduce the amount of foam that can form, once we bring this to rolling boil.

So, now we're boiling like mad, and I'm stirring and stirring-- and I wouldn't dare leave to answer the phone or check my email.  Just a few minutes later (like about 3 or 4), I turn off the heat.

Prep work is what makes canning go smoothly. I've got a tray, covered with a towel, and my jars have been sanitized and so have my lids. 

 
I set a funnel in a glass jar, and ladle the jam, almost to the top.

Just like the recipe said-- I got five cups of jam.

Other than waiting for the large pot of water to boil, so I can boil the jam-filled jars for a few minutes, the actually jam making process took less than 30 minutes.

I had about 1/4 cup of jam left, which I placed in a small bowl and refrigerated. Within 30 minutes, it was set and nicely firmed.  Once the jars cool, the jam will seem watery. No worries. Once you refrigerate it, it firms up beautifully. 

You'd think that this might be an over-the-top sweet jam.  Ah, but it isn't.  It's sweet, but just right. Success!

TASTING NOTES:  I love pineapple.  That's why I make Apricot-Pineapple jam, every summer.  But this pineapple jam is going to become one of my favorite jam recipes.  Served on a cracker, with cream cheese-- fantastic!  Thanks, Colleen.  I hope that you'll take a leap of faith, and learn to make your own jam. Trust me, you'll never go back to buying it again.  It's fun to make, and they make great gifts that people will appreciate.

A printable recipe is at the bottom of the post.  If you can't view it, click here


Scalloped Yukon Gold and Sweet Potato Gratin with Fresh Herbs

The end of our Spring Break vacation has come to an end.  The week went by, far too fast, but at least Craig and I are feeling rested.  We spent most of the week running around for estimates on some home improvements we'd like to do.  We enjoyed a few leisurely lunches in Carmel, after enjoying the luxury of sleeping in past 5:00am.  Life is good, and we are thankful to both have jobs to return to in the morning.


Easter is a time for us to reflect on the true meaning it holds for us, as church-going Christians should.   I consider this to be as important a holiday as I do Christmas-- if not a bit more.  I've stopped making reservations for Easter brunch years ago-- too crowded and expensive. I still like to invite close family members and a friend or two, to celebrate Easter.  This year, I decided to make a ham dinner-- which isn't my personal favorite, but I'm the only one who feels that way.  My husband loves ham, so ham it shall be.  I'll be sharing how I made this glazed ham, that turned out great, along with the rest of my Easter menu-- later on in the week.

As a side dish, sweet potatoes came to mind.  It seemed so traditional.

Then, I remembered a recipe I posted back in December 2008-- one of my very first posts. The picture wasn't pretty (that's before I learned that flash photography and food don't mix well). In fact, I had "zero" comments, and that doesn't surprise me.  I found the recipe in Bon Appétit, in the same year.  It was a good one, so I decided to make it again and take better pictures.  The recipe begins with Yukon Gold potatoes and Sweet Potatoes, sliced very thin and placed in water. (My mandoline made this very easy to do.)  I didn't peel the Yukon Gold's, but I washed them really well.

Spring has brought my herb garden back to life--  and I appreciate that I had all  four types  herbs for this recipe.  Parsley, Sage, Rosemary & Thyme (humming Simon & Garfunkel).  Dried herbs won't cut it, so go for fresh!

You'll need about 5 ounces of Gruyere Cheese.  It's a bit pricey (about $15.00 a pound), but it's so worth it.  

The prep work takes about 15-20 minutes.  Of course, a food processor (and mandoline) makes this go faster.  Grate the cheese-- should be about 1-1/4 cup.

Chop your fresh herbs-- about 1 Tablespoon of each.

Drain the potatoes, and blot them dry with a paper towel.  In one bowl, mix about 1-1/2 tsp. sea salt and 3/4 tsp. coarse black pepper.  Combine your herbs in another bowl.

The fat gram police are here, but ignore them. In a sauce pan, pour in two cups of heavy cream. Don't switch to milk, reduced milk or skim milk.  There are times to just savor the creaminess of a dish, and this is one of them.  Add 1/2 stick of butter, 2 minced garlic cloves and bring to a simmer; remove from heat.

Butter a 13×9×2-inch glass baking dish.  However, I cut the recipe back a bit, so I used a smaller casserole dish, and less potatoes. I still made the same amount of cream-- as I'd rather have too much than not enough.  Layer half the potatoes, evenly in the dish.  Sprinkle half the salt & pepper, and half the herbs.

Evenly sprinkle half the grated cheese. Repeat with one more layer.

Pour cream mixture over gratin, pressing lightly to submerge potato mixture as much as possible. 
NOTE: I didn't add all of the creme, because I made a note that by submerging the potatoes (the first time I made this) it was too much.  I filled the dish just to the top of the potatoes..
DO AHEAD: Can be made 6 hours ahead. Cover with plastic wrap and chill.Remove plastic wrap before baking.
 
Cover with foil and bake at 400F in a preheated oven for about 30 minutes; remove the foil, then bake for about 25 more minutes.  NOTE: You could make individual ramekins, though I'm not sure what the total baking time would be. 

Wow!  I will tell you that I saw a lot of oil/fat on the surface. I'm not sure why, but I'm guessing from the cheese?  I carefully tipped the dish over the kitchen sink, pressed with a spatula (so it wouldn't slip into the sink) and drained it. 

Much better!

This side dish was the hit of the Easter menu.  

TASTING NOTES:  Yukon Gold Potatoes, Sweet Potatoes, Heavy Cream, Butter and Cheese.  Do I really need to describe how good this is?  The herbs are what takes this to a new level.  There were no leftovers.  People went back for seconds. 'Nuff said.

I'm glad that I remade this dish, and my photos are much better than three years ago.  I deleted that old post, in fact.  A printable recipe card is at the bottom of this post.  If you can't view it (not sure if Key Ingredient fixed the bug that Internet Explorer wasn't compatible with their new formatted recipe cards), then click here to view it.


Support : Creating Website | Johny Template | Mas Template
Copyright © 2011. Delicious Food Kitchen - All Rights Reserved
Template Modify by Creating Website
Proudly powered by Blogger