Showing posts with label Pumpkin. Show all posts

Gingerbread (Pumpkin) Waffles

I have a Christmas morning breakfast idea for you.  I've been making these waffles for several years.  This waffle recipe tastes like Christmas, to me-- ginger, pumpkin, molasses, cinnamon.  They're even better when you have Vanilla-Pecan Butter to go on top.  Oh, yeah.

I had extra Vanilla Bean Pecan Butter from the Roasted Brussels Sprouts with Pomegranate Molasses recipe that I made.  Perfect!  The waffles are also a great way to use leftover pumpkin puree.  For those of you who feel that an unused can of opened pumpkin puree goes to waste-- freeze it.   Last year, I made my own pumpkin puree-- just to see if it's worth it.  I froze 1-cup portions into a ziploc bag, which is a very convenient to way to measure what you need.  It just so happens that you need 1 cup of pumpkin puree.   A quick thaw in a bowl of water gets you on the way in a snap.

For the dry ingredients, I'll bet that you have these in your pantry right now.  If not, then spices usually go on sale this time of year. Stock up!

(A printable recipe is at the bottom of this post.)  We need unbleached flour, baking powder, cinnamon, salt, ginger and nutmeg.

For the wet ingredients, we need eggs and brown sugar.  We also need melted butter.

...and molasses.  I keep an opened jar of molasses (I don't use it very often) way in the back of my fridge. I don't know how long this jar has been stored, but it's still good to go.  TIP: I teensy bit of oil to my measuring cup before measuring the molasses...

...1/2 cup molasses.  1 1/2 cups milk is the last wet ingredient (I used 1% milk).

GADGET CHECK:  I received this ball whisk as one of my gifts from the Foodbuzz Blogger Festival, last month.  I wasn't sure what was so special about it, and then it hit me.  Duh!  Unlike a regular whisk, I don't get big gobs of stuck dough when I whisk wet into dry ingredients.   Hold on... I'll show you.

First, we whisk all the wet ingredients.  See how easily the molasses slides right out of the measuring cup? I do this with honey, too.  

 add milk and melted butter and whisk one more time...

So, now, let's add the wet to the dry, with my new favorite ball whisk.

Check it out!  No clumps of batter on the ends.  See how easily I'm addicted to amused with kitchen gadgets? Let's make waffles...
  

Brush some butter on the waffle iron...


Warning: This recipe makes a LOT of batter.  


These smell like gingerbread cookies, as they cook. 

These deserve maple syrup.  I stopped buying commercial pancake syrup a few years ago. Have you ever read the ingredients listings? Go ahead. Look!  High fructose corn syrup?  Artificial flavors.   My family has converted over to pure maple syrup, and we'll never go back.  Maple syrup is such a versatile ingredient, too. 


Speaking of versatile ingredients...  I received a lovely package from Red Ape Cinnamon.  I wanted to take this cinnamon for a test drive with this recipe.  I am impressed with the products that this company provides. I like that they are very conscious of our planet.  It's a feel-good kind of product to buy, and it's the kind of quality that Ina Garten would have in mind when she says "use good cinnamon".   Their website says:
Red Ape Cinnamon™ is sustainably harvested in Indonesia from Cassia Cinnamon trees that are at least 20 years old. The Volatile Oil (V.O.) content is much higher in older trees resulting in a higher quality cinnamon.
You will notice that Red Ape Cinnamon™ is a lighter reddish brown color than the darker cinnamon you are accustomed to seeing. Only the pure inner cinnamon bark is ground and the extra outer bark that would normally dilute the final powder is disposed of. It is because of this grinding process that our cinnamon delivers a more intense cinnamon flavor experience.
You can order it on-line and I've found it at Whole Foods.  I'm going to buy this brand from now on.  I have another recipe I'll be sharing, that includes Singing Dog Pure Vanilla Extract and their Vanilla Bean Paste.  The lovely folks with this company will let me choose a reader to receive them as well. So, yes, I have another giveaway coming up with my next post. 

 The waffles are ready...

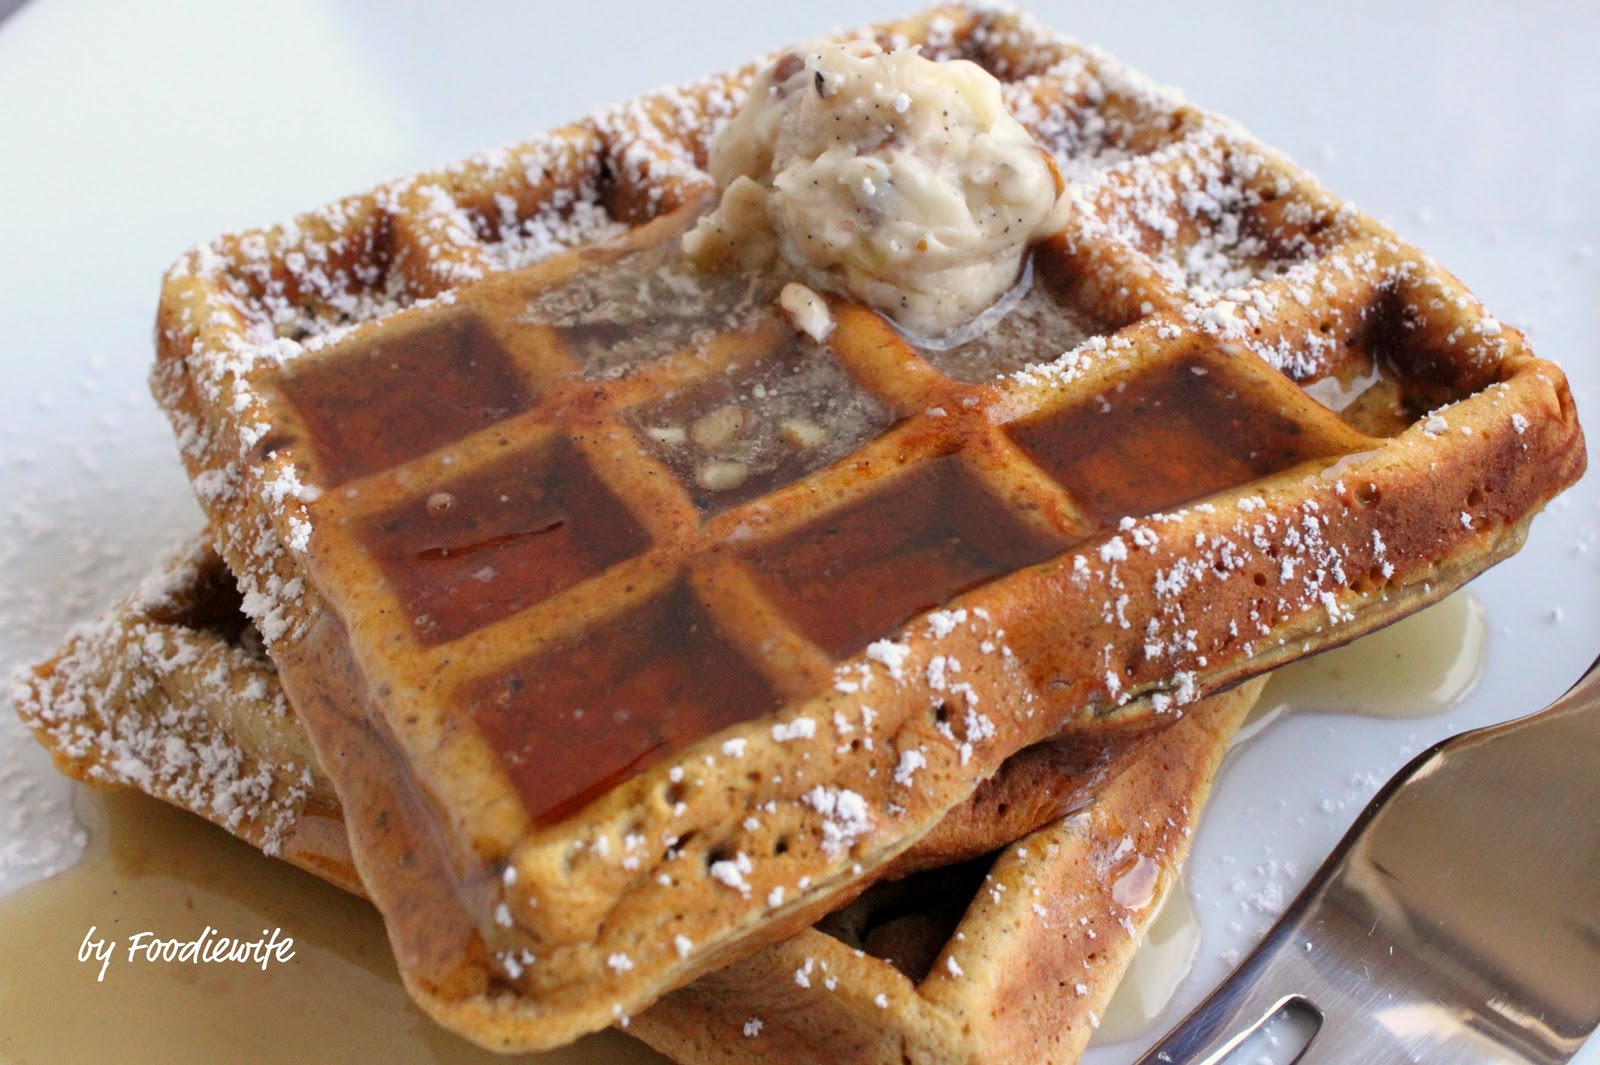
...add some Vanilla Bean-Pecan Butter (or regular butter)

...a dusting of powdered sugar looks nice

...a nice drizzle of pure maple syrup. Hungry yet?

VERDICT:  The texture of these waffle are a cross between tender and dense.  That might sound contradictory, I know. The pumpkin puree adds moisture and some density.  The ginger and cinnamon flavor really comes through, and the molasses gives that rich color and flavor, with just the right balance of sweet.
Kids will love these.  I make all of the batter and then freeze the waffles. They become homemade frozen waffles that heat well in a toaster oven.  Shall I reveal the source of this recipe?  Here it comes-- Rachel Ray. I saw this on her show at least five years ago.  It's a winner!

Thank you Red Ape Cinnamon, for sending me a generous jar of your cinnamon to try.  I love it. Seriously.  I use a lot of cinnamon, and it's nice to see that this is a sustainable product.  That means a lot to me.

A printable recipe card is at the end of this post.

Enjoy!


Harvest Pumpkin Scones - The Great Pumpkin Has Arrived!


Living on the Central Coast of California, our change of seasons happens in a very subtle way.  Ground snow doesn't happen in my part of California. Instead, our golden hills begin to show signs of life again with patches of bright green grass.   In our backyard, our tomato plants are beginning to look tired. There are a few orbs of red tomatoes, but plenty of green tomatoes.  Alas, they are small tomatoes-- too small for making Fried Green Tomatoes.  We've had a couple of days of welcome rain, but the sun still makes an appearance.  I noticed a few roses decided to show their pretty colors, though the rose bushes are starting to look a little sparse. Our sugar pumpkins are not doing so well. (That's what happens when you plant them a little too late.)  Fortunately, the pumpkin shortage that was predicted has been lifted.    I've run out of the frozen pumpkin puree I made, last year. So, I'm back to stocking up on canned pumpkin. I can eat pumpkin year-round.  Sweet or savory, I'm always looking for new ways to enjoy this winter squash (or is it a fruit? or vegetable? I bookmarked this recipe a few months ago, from the King Arthur Flour website.

KAF's recipe for Harvest Pumpkin Scones, suggests adding crystallized ginger.  I haven't used this pretty (but deadly "hot" to my tender palate) product in a long time.  My son grabbed a piece of this, and before I could warn him, he took a big bite. The look on his face was total shock, and tried not to laugh at him too much.  Don't let the sugar fool you!  Ginger can be very hot to the taste buds. A little goes a long way!  If you've never made scones-- or your attempts yielded desert dry and hard hockey pucks-- I'm going to show you how fast you can make these, with a few tips and tricks along the way. Ready?

First, we measure our dry ingredients. NOTE: I forgot left out the allspice. I used it up making my famous Red Cabbage, last week.  Full disclosure: I am not an employee of King Arthur Flour, nor do they pay me or provide free products.  I am a regular customer, though. I simply love their baking products because of the quality of their ingredients.  You don't have to add crystallized ginger (I found this in the bulk section at Whole Foods) ...

...nor mini cinnamon baking chips (purchased online at  King Arthur Flour). But I recommend it. You need pumpkin puree.  Don't use canned pumpkin pie filling, by mistake! (Why does anyone even buy that? Pumpkin pie is so easy to make...just sayin'.)

I decided to use 1/2 cup of minced crystallized ginger and 1/2 cup of mini cinnamon chips-- half of what the original recipe calls for.  You need 2/3 cup of pumpkin puree. Puree freezes really well, in case you don't use the rest for something else in a day or two.  You need two eggs. Cold eggs.  More on that, in a moment. Now, we need butter.  Not margarine, please. Butter.  One stick. Cold butter.  Do you see a theme here?

Here's a great tip:  Grate the butter. Put it in the freezer to keep it ice cold.
So, what's up with the emphasis on cold, you might wonder?  Unlike baking cakes or cookies, scones turn out puffy and tender when the ingredients are very cold.  The chunks of butter create steam, just like when baking with puff pastry or pie crusts.

I don't think it matters what order you do things, but I whisked the eggs and then combined the pumpkin puree. I put that in the refrigerator, to keep with the cold theme.

So, now all the ingredients are prepped and ready to make scones.  This shouldn't take more than 15 minutes. When you're photographing step-by-step, it takes more than twice that time. But, you readers are worth it.
Stir/whisk the dry ingredients.  A pastry cutter helps. (The warmth of your fingers might warm the butter up.)

Work in the grated, cold butter just until the mixture is unevenly crumbly; it’s OK for some larger chunks of butter to remain unincorporated.

 If you're using the cinnamon baking chips and crystallized ginger, add them in now.

Add the pumpkin/egg mixture and stir until all is moistened and holds together.

At first, I found that my dough didn’t turn out very moist. Don’t panic, if it does.

I gently worked the dough until it held together.  If you overwork the dough, you will end up with tough scones. 
Line a baking sheet with parchment; if you don’t have parchment, just use it without greasing it. Sprinkle a bit of flour atop the parchment or pan. Scrape the dough onto the floured parchment or pan, and divide it in half. Round each half into a 5” circle (if you haven’t incorporated any add-ins); or a 6” circle (if you’ve added 2 cups of fruit, nuts, etc.). The circles should be about 3/4” thick.
* *NOTE: I found that room was “tight” to place two circles onto one baking sheet. Even though I spaced them, they spread out and fused a bit together. I recommend using separate baking sheets.

 See those bits of butter, ginger and chips?  Yes! At this point, I put the baking sheet into the freezer for 30 minutes. That's the perfect opportunity to clean up the kitchen.  Get ready to preheat the oven to 425F. (The high heat gets that wonderful, buttery steam going.)

30 minutes later, the baking sheet and the unbaked scones are ice cold.  I brushed each round with milk and a sprinkling of coarse bright sugar
NOTES:  King Arthur Flour does the aboves steps before freezing. I chose not to, for no particular reason. Maybe I couldn't bond with the idea of freezing the milk... either way, it worksout fine.  Coarse bright sugar is one of my (many) favorite King Arthur Flour baking products. This sugar gives a wonderful texture to my muffins, puff pastry goods, cookies and scones.  If you can't find it (you can buy it here), you can substitute a cinnamon-sugar topping.

I love my bench scraper tool!  Since the dough was very cold, from the freezer, I found cutting the rounds into wedges was pretty easy.


Carefully pull the wedges away from the center to separate them just a bit; there should be about 1/2” space between them, at their outer edges. Bake the scones for 22 to 25 minutes (mine took 20 minutes), or until they’re golden brown and a toothpick inserted into the center of one comes out clean, with no wet crumbs. If you pull one of the scones away from the others, the edges should look baked through, not wet or doughy.
NOTE: To be on the safe side, I checked the scones at 20 minutes, and the aroma was amazing! They were very ready!

 NOTE: Seriously, spread them apart! Mine fused slightly together (see previous note). In the future, I will use two baking sheets. Just sayin’!

Get your coffee or tea ready.  You won't have to yell "ready". The aroma will bring anyone in the house right to the source of the pumpkin-ginger-cinnamon aroma!

 Serve while warm.


VERDICT: Like Ina Garten and Cook's Illustrated, I've yet to not have success with a King Arthur Flour recipe.  The scones were tender and crumbly.  The ginger was the dominant flavor, so I plan to cut back to 1/4 cup instead of 1/2 cup.  I'm so glad I didn't add a full cup of ginger, or these would be renamed "Gingerbread Scones".  The cinnamon chips were very subtle, so I will increase from 1/2 cup to 1 cup.  The pumpkin flavor is very subtle, but I attribute that to the power of ginger.  Next time, I will definitely add the allspice. I just love the crunch of the coarse sugar, but I might try the cinnamon-sugar topping instead.  Overall, these are delicious scones. They would be perfect for a Thanksgiving morning brunch.


You can warm these up in the microwave, for a short burst of time. Or, in a toaster oven. I am thinking that these could be made the night before and refrigerated. The next morning, I'd add the milk and coarse sugar (or cinnamon-sugar topping) and bake them as directed. I would be tempted to par-bake these and freeze them.  Then, you could try baking them until golden brown, at a later time.

The printable recipe is at the bottom of this post.  Since I've baked these, the sun has disappeared and we're back to grey skies. Maybe it's not such a bad idea that we put fresh flannel sheets on our bed.  I do think that the frost on the pumpkin might be coming in the next few weeks!  In the meantime, what do I do with tiny green tomatoes?

Have a blessed weekend!


Support : Creating Website | Johny Template | Mas Template
Copyright © 2011. Delicious Food Kitchen - All Rights Reserved
Template Modify by Creating Website
Proudly powered by Blogger